
使用 NVIDIA NIMs 自行部署的 AI 模型的 Haystack RAG 流水线
最后更新时间:2025年4月17日
在此 notebook 中,我们将使用 NVIDIA 推理微服务 (NIMs) 的自托管 AI 模型构建一个 Haystack 检索增强生成 (RAG) 管道。
该 notebook 与一篇技术博客相关,该博客演示了如何将 NVIDIA NIMs 与 Haystack 部署到生产环境的步骤。
代码示例假定 LLM 生成器和检索嵌入 AI 模型已按照技术博客中的说明,使用 NIMs 微服务进行部署。
您也可以将 NVIDIA NIMs 的调用替换为 NVIDIA 在 ai.nvidia.com 上托管的相同 AI 模型。
# install the relevant libraries
!pip install haystack-ai
!pip install nvidia-haystack
!pip install --upgrade setuptools==67.0
!pip install pip install pydantic==1.9.0
!pip install pypdf
!pip install hayhooks
!pip install qdrant-haystack
对于 Haystack RAG 管道,我们将使用 Qdrant 向量数据库,以及自托管的 meta-llama3-8b-instruct 作为 LLM 生成器,NV-Embed-QA 作为嵌入器。
在下一个单元格中,我们将设置自部署 NVIDIA NIMs 的域名和 URL,以及 QdrantDocumentStore 的 URL。请根据您的设置进行调整。
# Global Variables
import os

# LLM NIM
llm_nim_model_name = "meta-llama3-8b-instruct"
llm_nim_base_url = "http://nims.example.com/llm"

# Embedding NIM
embedding_nim_model = "NV-Embed-QA"
embedding_nim_api_url = "http://nims.example.com/embedding"

# Qdrant Vector Database
qdrant_endpoint = "http://vectordb.example.com:30030"
1. 检查部署
让我们首先在我们的环境中检查向量数据库和自部署的 NVIDIA NIMs 模型。有关 NIM 部署的步骤,请参阅技术博客。
我们可以使用简单的 curl 命令检查部署了 NIMs 的 AI 模型以及 Qdrant 数据库。
1.1 检查 LLM 生成器 NIM
! curl '{llm_nim_base_url}/v1/models' -H 'Accept: application/json'
{"object":"list","data":[{"id":"meta-llama3-8b-instruct","object":"model","created":1716465695,"owned_by":"system","root":"meta-llama3-8b-instruct","parent":null,"permission":[{"id":"modelperm-6f996d60554743beab7b476f09356c6e","object":"model_permission","created":1716465695,"allow_create_engine":false,"allow_sampling":true,"allow_logprobs":true,"allow_search_indices":false,"allow_view":true,"allow_fine_tuning":false,"organization":"*","group":null,"is_blocking":false}]}]}
1.2 检查检索嵌入 NIM
! curl '{embedding_nim_api_url}/v1/models' -H 'Accept: application/json'
{"object":"list","data":[{"id":"NV-Embed-QA","created":0,"object":"model","owned_by":"organization-owner"}]}
1.3 检查 Qdrant 数据库
! curl '{qdrant_endpoint}' -H 'Accept: application/json'
{"title":"qdrant - vector search engine","version":"1.9.1","commit":"97c107f21b8dbd1cb7190ecc732ff38f7cdd248f"}
# A workaround
os.environ["NVIDIA_API_KEY"] = ""
2. 执行索引
让我们首先初始化 Qdrant 向量数据库,创建 Haystack 索引管道并上传 PDF 示例。我们将使用 NIM 的自部署嵌入器 AI 模型。
# Import the relevant libraries
from haystack import Pipeline
from haystack.components.converters import PyPDFToDocument
from haystack.components.writers import DocumentWriter
from haystack.components.preprocessors import DocumentCleaner, DocumentSplitter
from haystack_integrations.document_stores.qdrant import QdrantDocumentStore
from haystack_integrations.components.embedders.nvidia import NvidiaDocumentEmbedder
# initialize document store
document_store = QdrantDocumentStore(embedding_dim=1024, url=qdrant_endpoint)

# initialize NvidiaDocumentEmbedder with the self-hosted Embedding NIM URL
embedder = NvidiaDocumentEmbedder(
    model=embedding_nim_model,
    api_url=f"{embedding_nim_api_url}/v1"
)
converter = PyPDFToDocument()
cleaner = DocumentCleaner()
splitter = DocumentSplitter(split_by='word', split_length=100)
writer = DocumentWriter(document_store)
# Create the Indexing Pipeline
indexing = Pipeline()
indexing.add_component("converter", converter)
indexing.add_component("cleaner", cleaner)
indexing.add_component("splitter", splitter)
indexing.add_component("embedder", embedder)
indexing.add_component("writer", writer)

indexing.connect("converter", "cleaner")
indexing.connect("cleaner", "splitter")
indexing.connect("splitter", "embedder")
indexing.connect("embedder", "writer")
<haystack.core.pipeline.pipeline.Pipeline object at 0x7f267972b340>
🚅 Components
  - converter: PyPDFToDocument
  - cleaner: DocumentCleaner
  - splitter: DocumentSplitter
  - embedder: NvidiaDocumentEmbedder
  - writer: DocumentWriter
🛤️ Connections
  - converter.documents -> cleaner.documents (List[Document])
  - cleaner.documents -> splitter.documents (List[Document])
  - splitter.documents -> embedder.documents (List[Document])
  - embedder.documents -> writer.documents (List[Document])
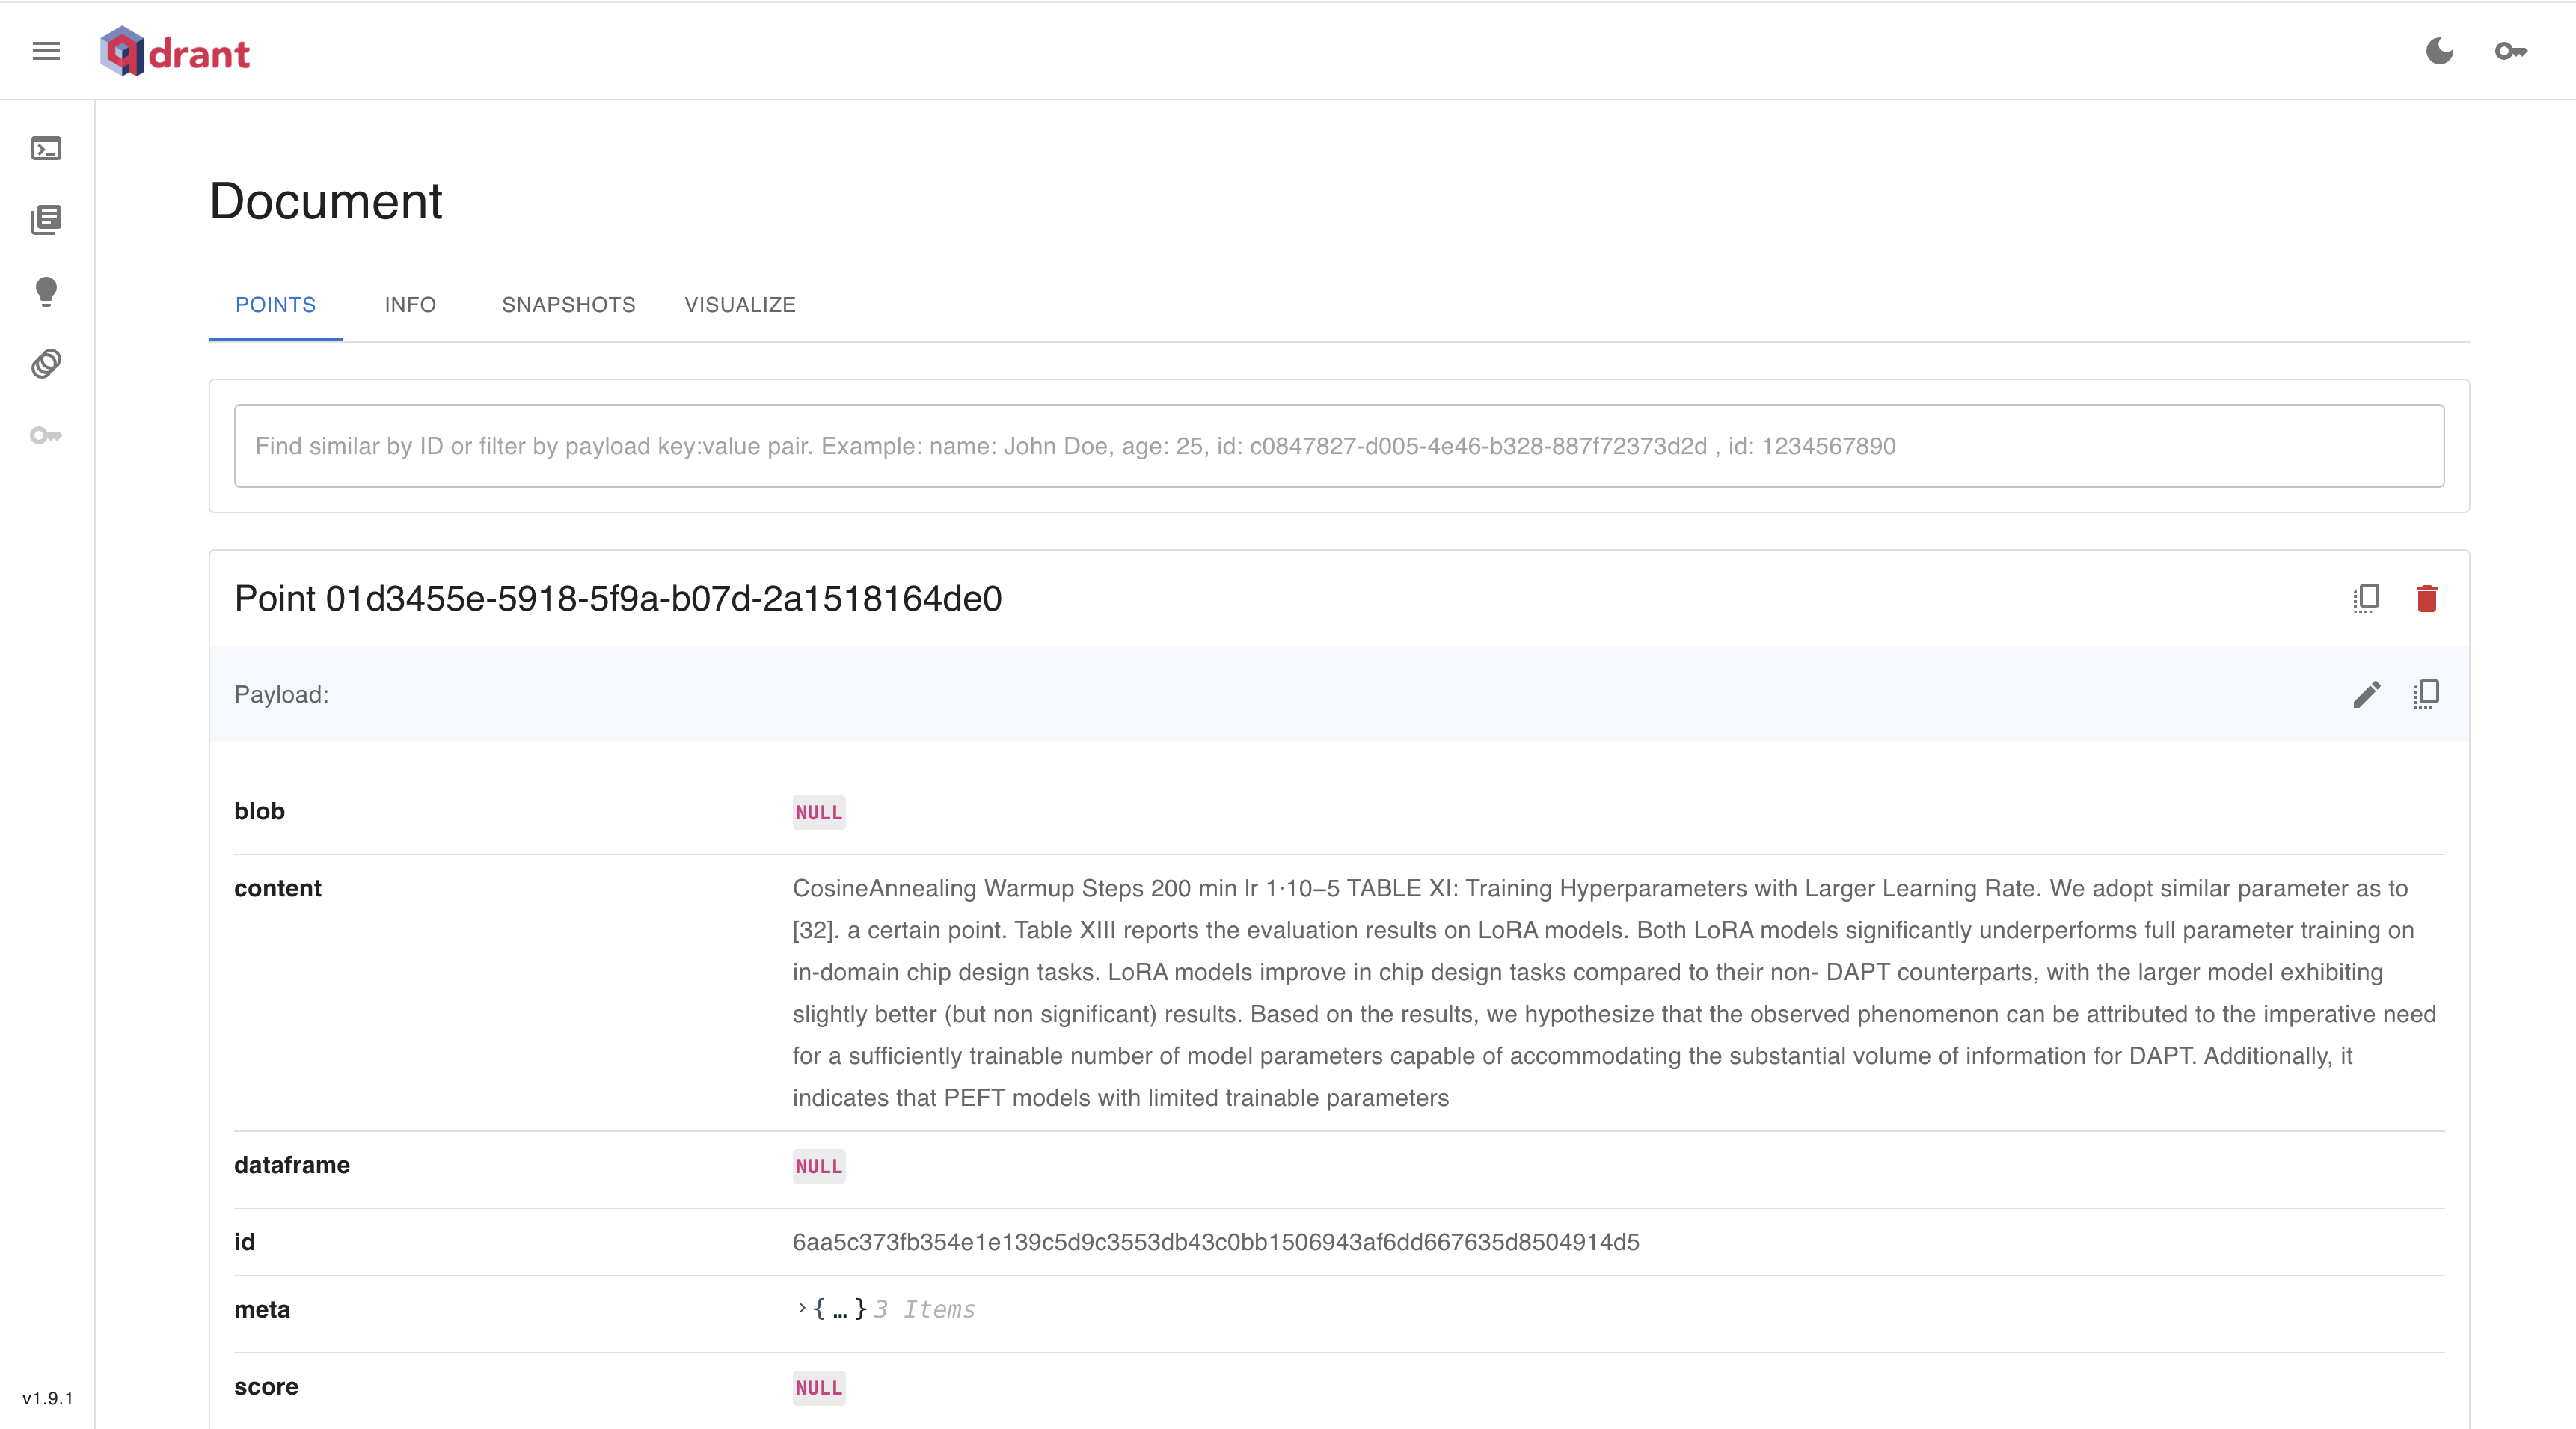
我们将向向量数据库上传一篇关于 NVIDIA 的 ChipNeMo 的 PDF 研究论文,ChipNeMo 是一个用于芯片设计的领域特定 LLM。该论文可在 此处 获取。
# Document sources to index for embeddings
document_sources = ["./data/ChipNeMo.pdf"]

# Create embeddings
indexing.run({"converter": {"sources": document_sources}})
Calculating embeddings: 100%|██████████| 4/4 [00:00<00:00, 15.85it/s]
200it [00:00, 1293.90it/s]


{'embedder': {'meta': {'usage': {'prompt_tokens': 0, 'total_tokens': 0}}},
 'writer': {'documents_written': 108}}
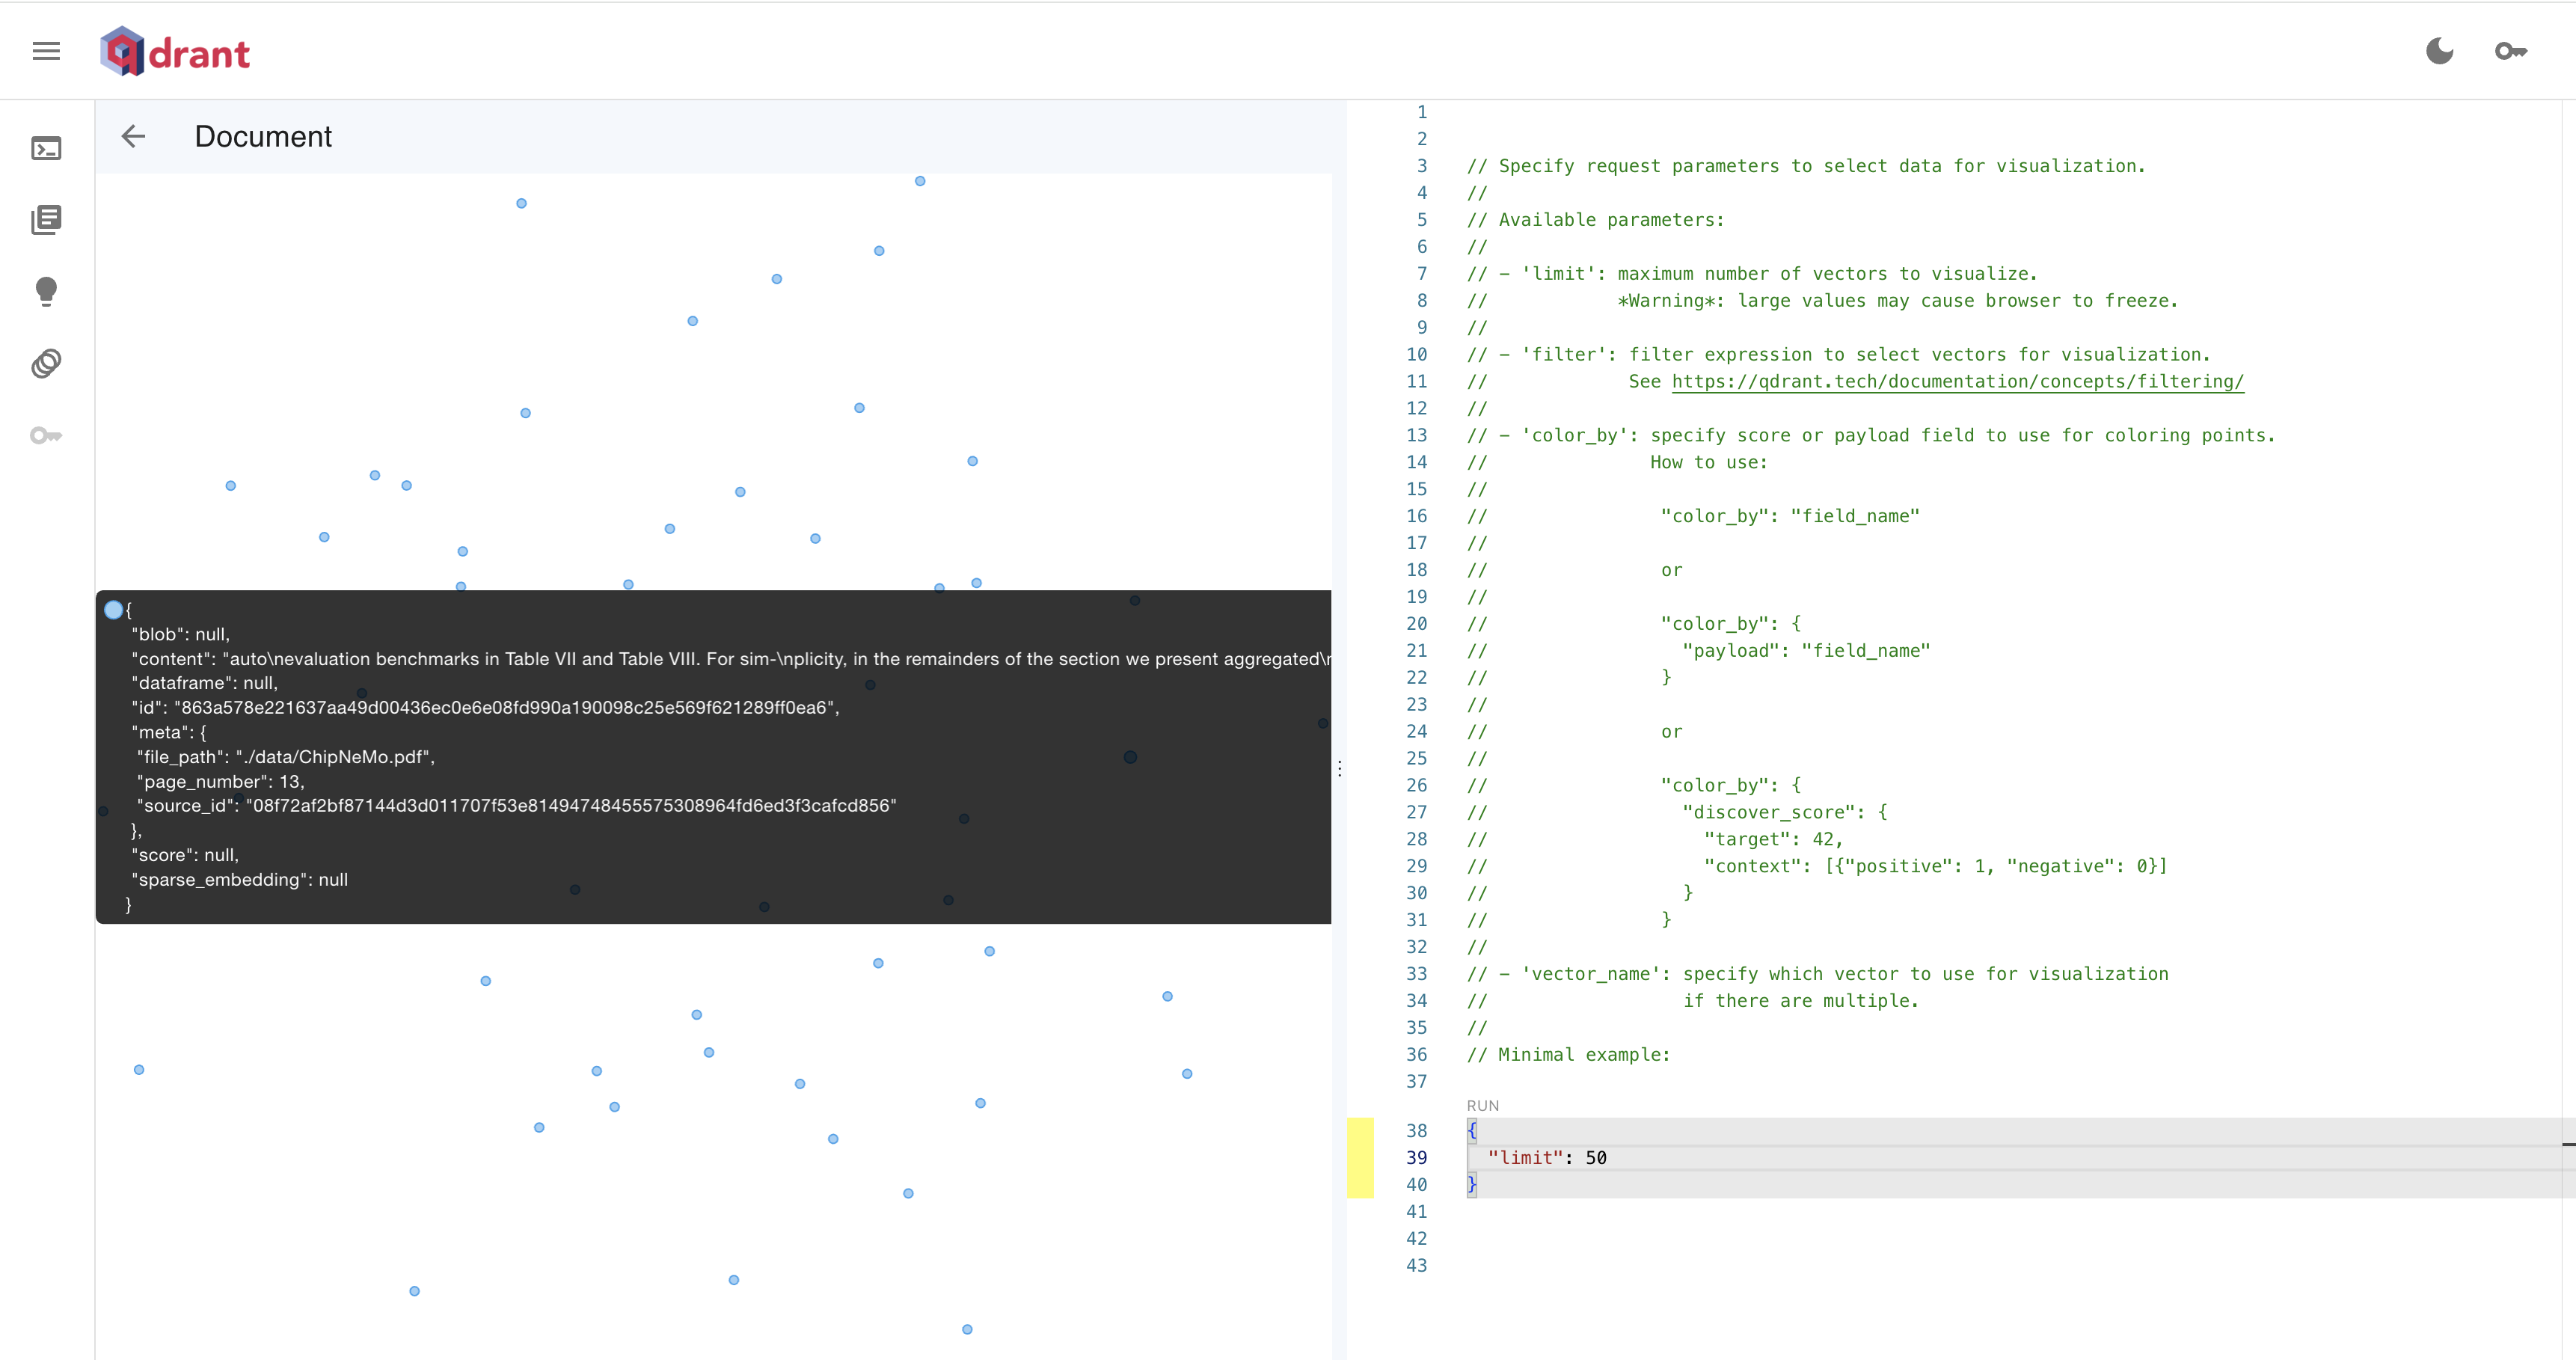
可以通过 Web UI 检查 Qdrant 数据库的部署。我们可以在 qdrant_endpoint/dashboard 提供的仪表板上检查存储的嵌入。

3. 创建 RAG 管道
现在让我们创建 Haystack RAG 管道。我们将使用 NIM 自部署的 LLM 初始化 LLM 生成器。
# import the relevant libraries
from haystack import Pipeline
from haystack.utils.auth import Secret
from haystack.components.builders import PromptBuilder
from haystack_integrations.components.embedders.nvidia import NvidiaTextEmbedder
from haystack_integrations.components.generators.nvidia import NvidiaGenerator
from haystack_integrations.components.retrievers.qdrant import QdrantEmbeddingRetriever
# initialize NvidiaTextEmbedder with the self-hosted Embedding NIM URL
embedder = NvidiaTextEmbedder(
    model=embedding_nim_model,
    api_url=f"{embedding_nim_api_url}/v1"
)

# initialize NvidiaGenerator with the self-hosted LLM NIM URL
generator = NvidiaGenerator(
    model=llm_nim_model_name,
    api_url=f"{llm_nim_base_url}/v1",
    model_arguments={
        "temperature": 0.5,
        "top_p": 0.7,
        "max_tokens": 2048,
    },
)
retriever = QdrantEmbeddingRetriever(document_store=document_store)

prompt = """Answer the question given the context.
Question: {{ query }}
Context:
{% for document in documents %}
    {{ document.content }}
{% endfor %}
Answer:"""
prompt_builder = PromptBuilder(template=prompt)
# Create the RAG Pipeline
rag = Pipeline()
rag.add_component("embedder", embedder)
rag.add_component("retriever", retriever)
rag.add_component("prompt", prompt_builder)
rag.add_component("generator", generator)

rag.connect("embedder.embedding", "retriever.query_embedding")
rag.connect("retriever.documents", "prompt.documents")
rag.connect("prompt", "generator")
<haystack.core.pipeline.pipeline.Pipeline object at 0x7f267956e130>
🚅 Components
  - embedder: NvidiaTextEmbedder
  - retriever: QdrantEmbeddingRetriever
  - prompt: PromptBuilder
  - generator: NvidiaGenerator
🛤️ Connections
  - embedder.embedding -> retriever.query_embedding (List[float])
  - retriever.documents -> prompt.documents (List[Document])
  - prompt.prompt -> generator.prompt (str)
现在让我们使用 RAG 管道请求一个关于 ChipNemo 模型的问题。
# Request the RAG pipeline
question = "Describe chipnemo in detail?"
result = rag.run(
    {
        "embedder": {"text": question},
        "prompt": {"query": question},
    }, include_outputs_from=["prompt"]
)
print(result["generator"]["replies"][0])
ChipNeMo is a domain-adapted large language model (LLM) designed for chip design, which aims to explore the applications of LLMs for industrial chip design. It is developed by reusing public training data from other language models, with the intention of preserving general knowledge and natural language capabilities during domain adaptation. The model is trained using a combination of natural language and code datasets, including Wikipedia data and GitHub data, and is evaluated on various benchmarks, including multiple-choice questions, code generation, and human evaluation. ChipNeMo implements multiple domain adaptation techniques, including pre-training, domain adaptation, and fine-tuning, to adapt the LLM to the chip design domain. The model is capable of understanding internal HW designs and explaining complex design topics, generating EDA scripts, and summarizing and analyzing bugs.
此 notebook 展示了如何使用 NVIDIA 推理微服务 (NIMs) 的自部署生成式 AI 模型构建 Haystack RAG 管道。
请查阅文档,了解如何在您自己的环境中部署 NVIDIA NIMs。
为了进行实验,您也可以将自部署模型替换为 NVIDIA 在 ai.nvidia.com 托管的 NIM。